

.jpg)
.jpg)

.jpg)
We've got the how to!
LET US SHOW YOU HOW!
RESTORING A PIECE OF OLD TIRED FURNITURE USING A SHELLAC FINISH.
Firstly remove all Hardware and dismantal your piece as much as practical, removing drawer, mirrors, hinges, handle and other hardware etc.
Stripping
Step 1.. Appy a non-caustic Stripper with an old paint brush or the likes. This will remove all the old Finishes, like paint, varnish shellac etc. Caustic stripper will often permanently damage or feather the timber or veneering.
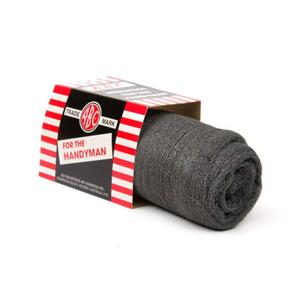
Step 2. After the non-caustic stripper does its work (usually 20mins or so) scrape of excess with a paint scraper or similar then finish the removal with 2 grade steel wool. Always scrape or work along the grain and NOT across it. this will permanently damage the timber.
Step 3. Neutralise and wash away the stripper with methylated spirits. We recommend methylated spirits because it dries much faster, whereas water can be harmful to veneered furniture.
Step 4. Before sanding, ensure that your piece is completely dry otherwise timber fibres may be damaged.
Sanding
Start sanding with P80 grade grey sandpaper, working down through the finer grades P120, P180 to P320. A reminder to make sure the timber is completely dry and always sand with (along) the grain, NEVER across it. For beautiful extra smooth surface, finish the sanding with 0000 steel wool.
Staining
Step 1. Wipe over your piece with a tack cloth to remove all traces of dust, lint and other fine particles.
Step 2. Choose your brand of stain, we use & recommend Wattle timber stain. Although Feast Watson stains are perfectly fine to use also. Wattle Timber stains maybe also be blended together to achieve the right colour consistancy that you are looking for. Using a clean lint free cloth apply the stain evenly and always finishing in the direction of the grain. Wipe off excess stain with a clean dry cloth immediately, to prevent blotching.
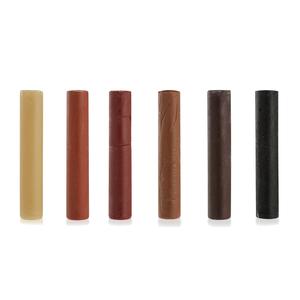
How to mix Shellac
Step 1. Add dry Shellac flakes into a plastic or glass container with a plastic lid. Do not use a metal container or metal lid, this will discolour the shellac.
Step 2. Pour methylated spirits over the shellac flakes, cover the flakes to a depth of at least 2 or 3cms above the shellac. Generally, 250gms of shellac is mixed with 1litre of meths. it will take up to 24hrs for the shellac flakes to dissolve. Stir every now and again with a small stick of wood to mix and break up any clumps. Always make sure that the container used is completely dry other wise the moisture will affect the shellac. Never use or work with shellac on humid or rainy damp days, this will cause the shellac bloom (go off) turning it into a milky colour. Shellac may be stored in an airtight container. Sometimes it is a very good idea to strain the shellac after dissolving through a stocking to remove all the unwanted particals that maybe present.
Applying Shellac
Step 1. Before you start applying the shellac, always wipe down the surface once again with your tack cloth.
Step 2. Apply the shellac with a good quality soft bristle brush (good quality paint brush is fine) or small sponge roller. Keeping in mind the shellac is very fast drying, therefore you should only apply one thin coat to avoid overlapping. If you make a mistake ( as mentioned above) never attempt to try to fix it then, wait until you apply the next application and correct the mistake then.
Step 3. Allow at least 3 to 4 hours between coats, always cut back with 0000 grade steel wool between coats and tack cloth off once more.
Step 4. Apply further coats until the desired depth of finish is achieved, this can range from 3 to 6 coats or ever more.
Step 5. Once you have achieved the finish you are happy with, reassemble the piece leaving the hardware off at this stage.
Wax Polishing
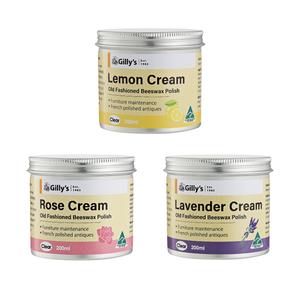
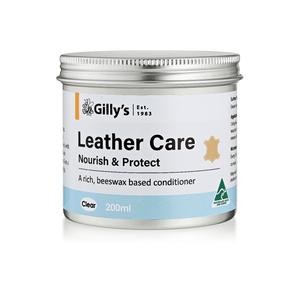
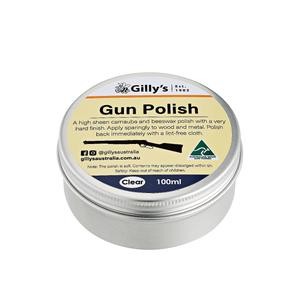
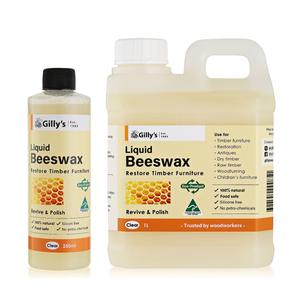
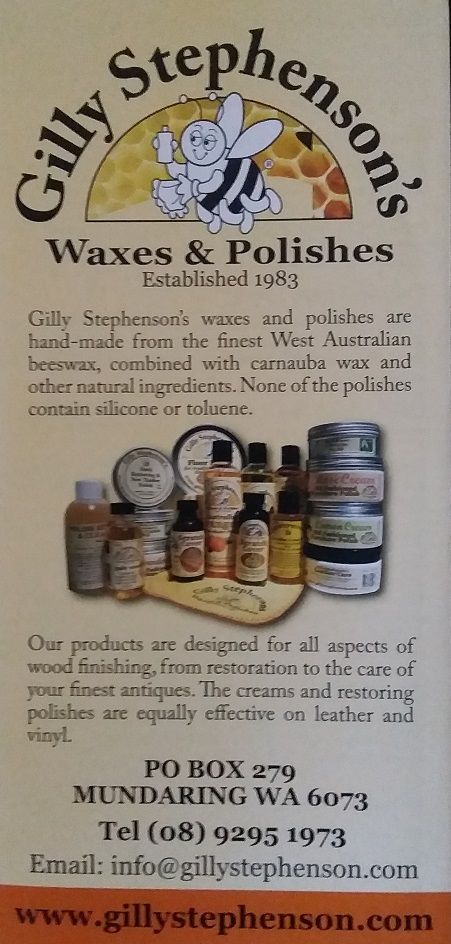
Step 1. Always use a good quality wax to finish protecting your now beautiful piece of furniture. Here at The Dayboro Shed use and recommend Gilly Stephenson's waxes & polishes for a natural protective finish over the top of your Shellac.
Step 2. Apply the wax wth 0000 grade steel wool in a small circular motion, then leave to go off (haze) for approximately 5 or 10 minutes.
Step 3. Buff off with a lint free polishing cloth (cheese cloth, old singlet or T shirt are fantastic for this job) always work in the direction of the grain with a reasonable amount of light pressure.
DO NOT press too hard or you may dull the finish.
Step 4. Apply at least 2 or 3 coats of wax polish to the finish. Then try to avoid touching or handling the piece of furniture for at least 24 hours to allow the wax finish to dry.
Step 5. All there is left to do now is to reapply the handles, hinges and locks and then sit back with a cup of tea, coffee or other cool beverage and admire your workmanship!!
But if this all sounds a little to much bewildering work for you or you have not got the time, you can always give us a call here at The Dayboro Shed Antique Restorations & we will happily tend to your restoration needs.
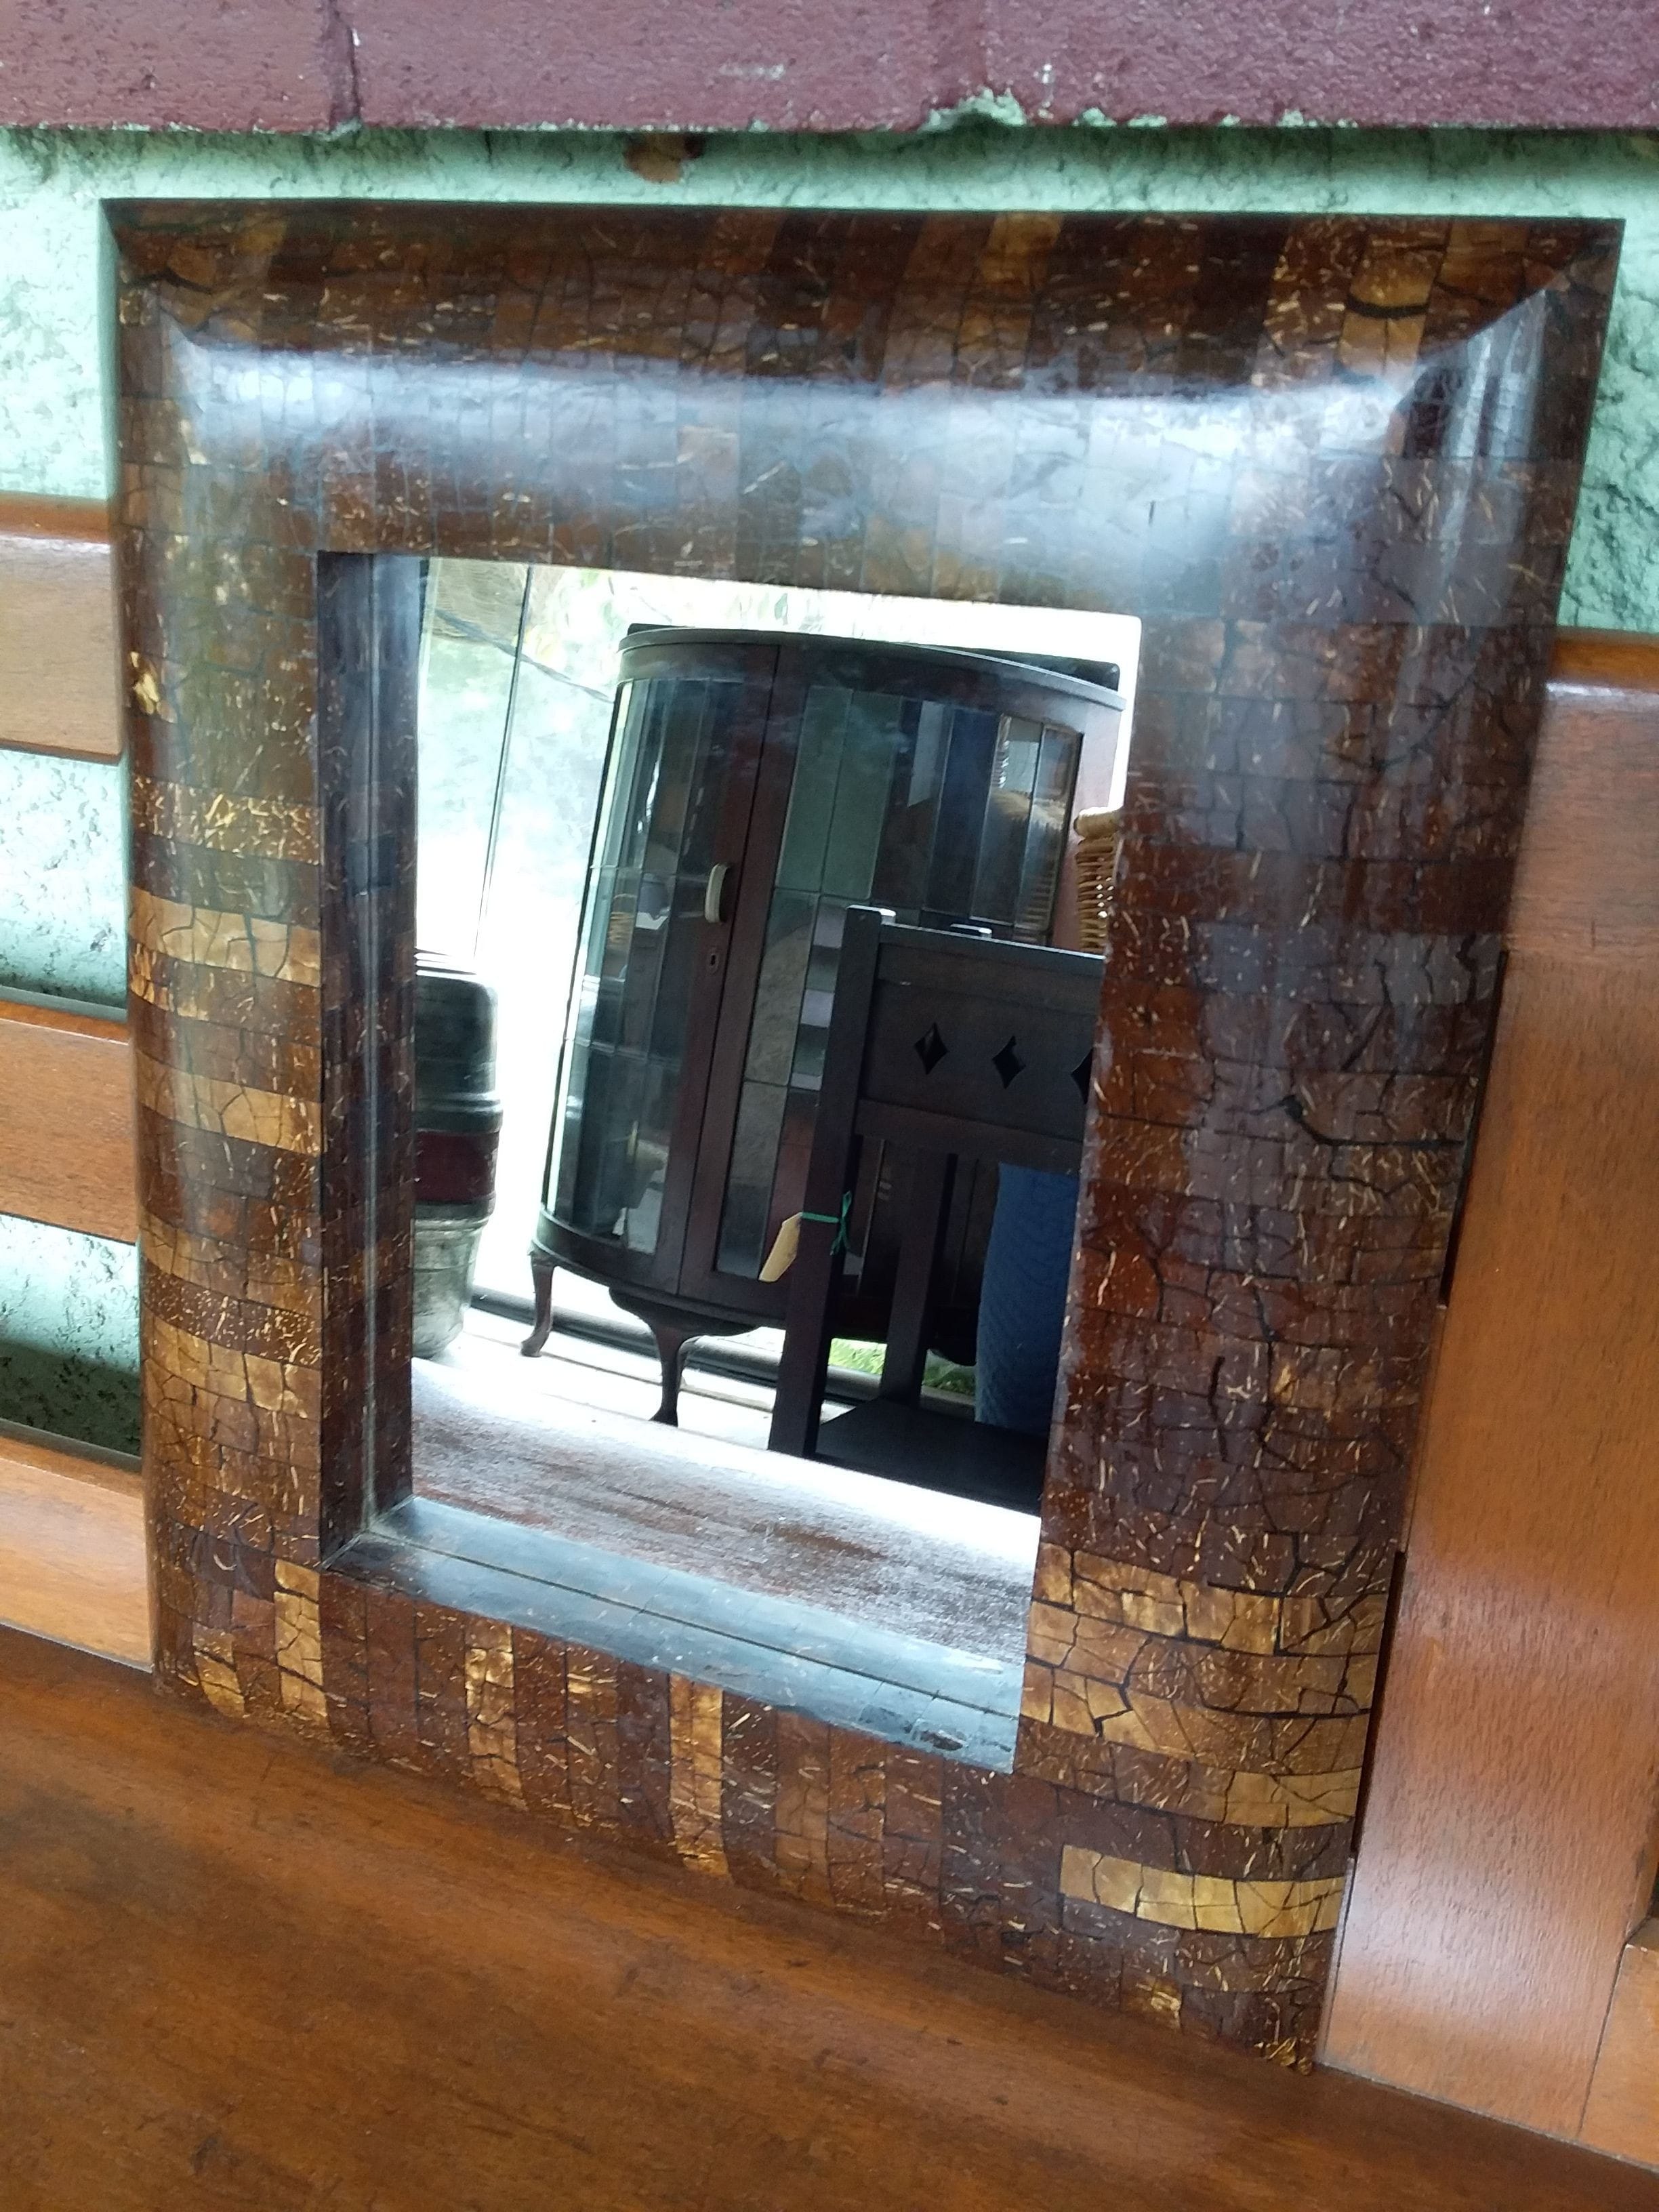
We can restore that lovely old heirloom or that tired piece that just needs a little sweetening up.

Lovely 1940's Silky Oak 4 drawer office desk.
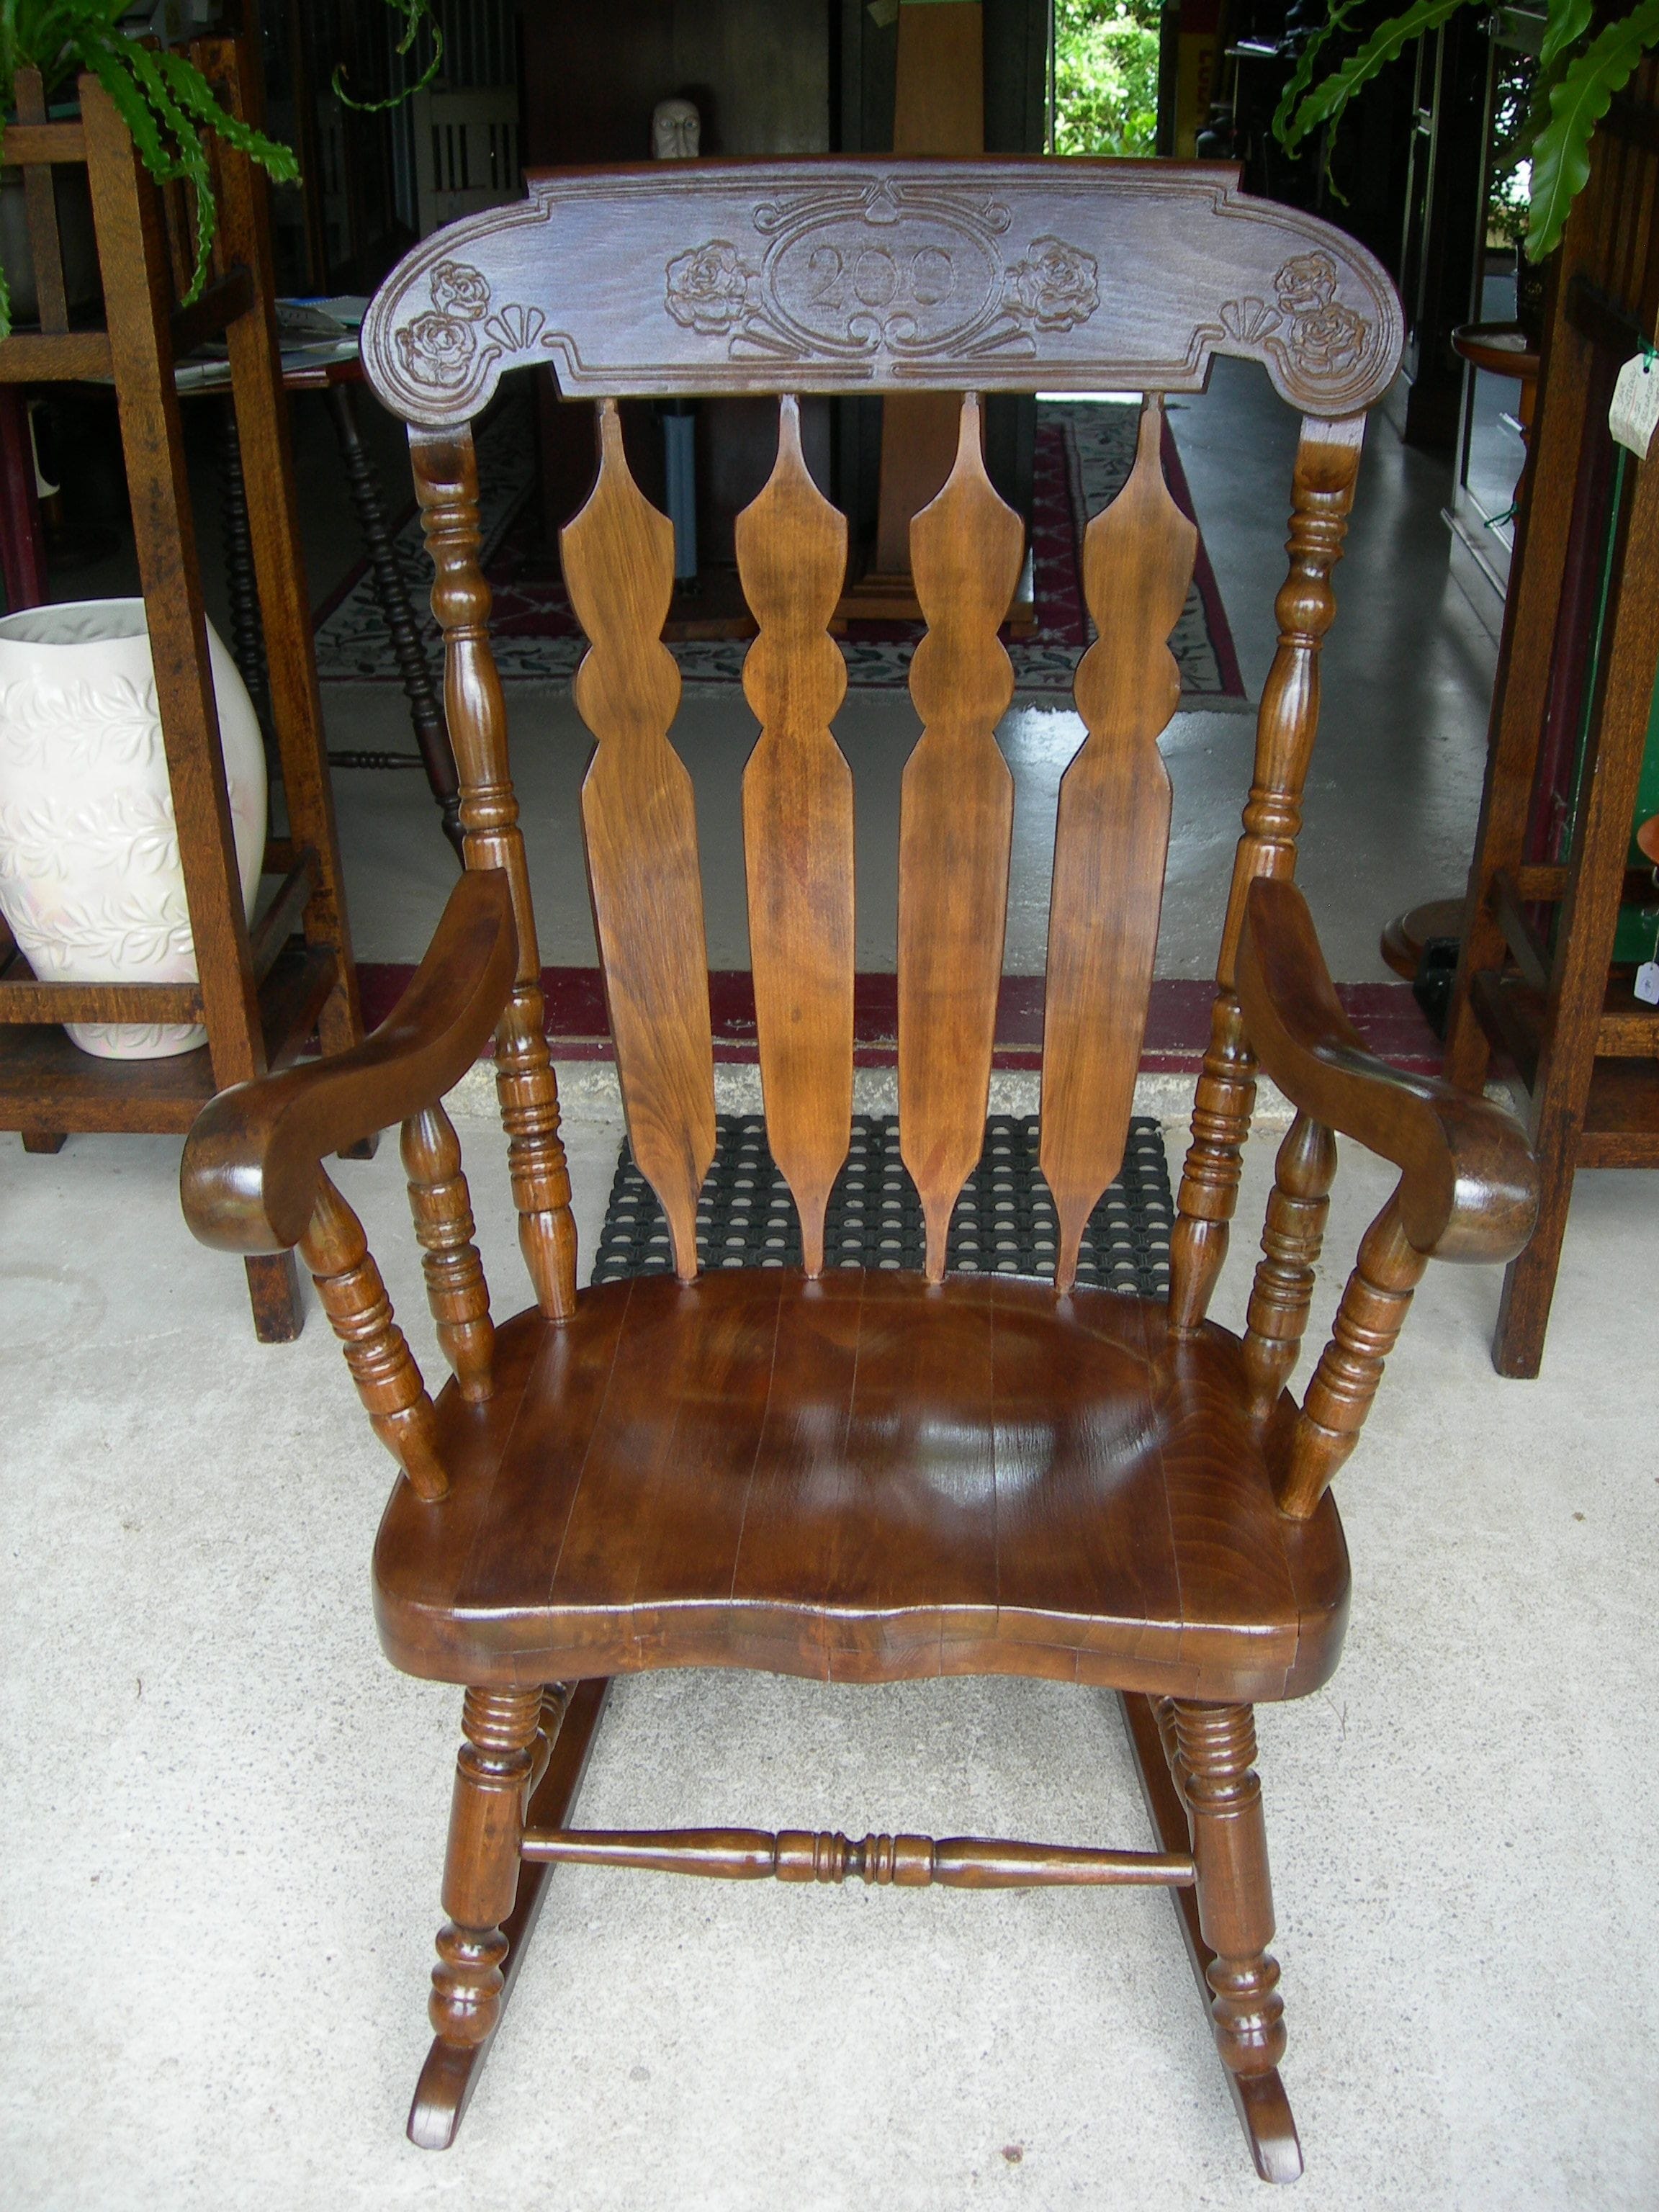
Beautiful old Swedish made rocking chair.

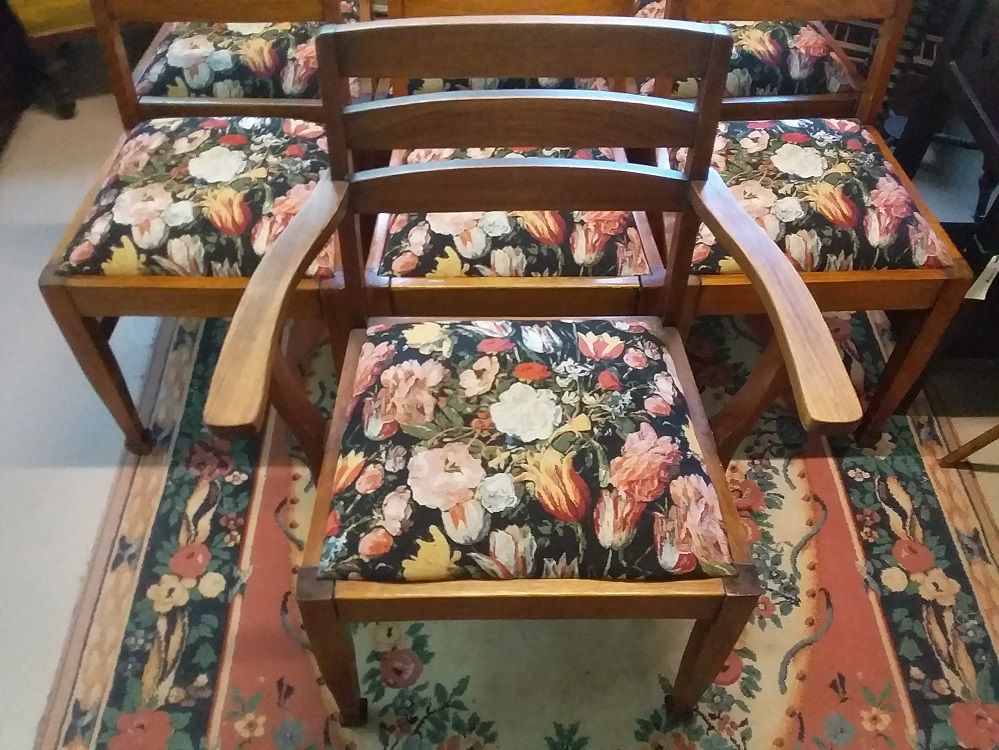
Victorian Colonial spindle back dining chairs with rattan base.
Unmistakable quality!
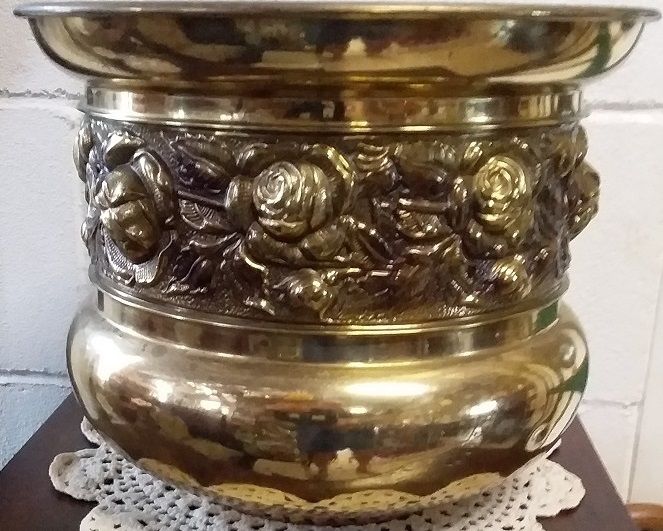
Highly decorated English brass urn.